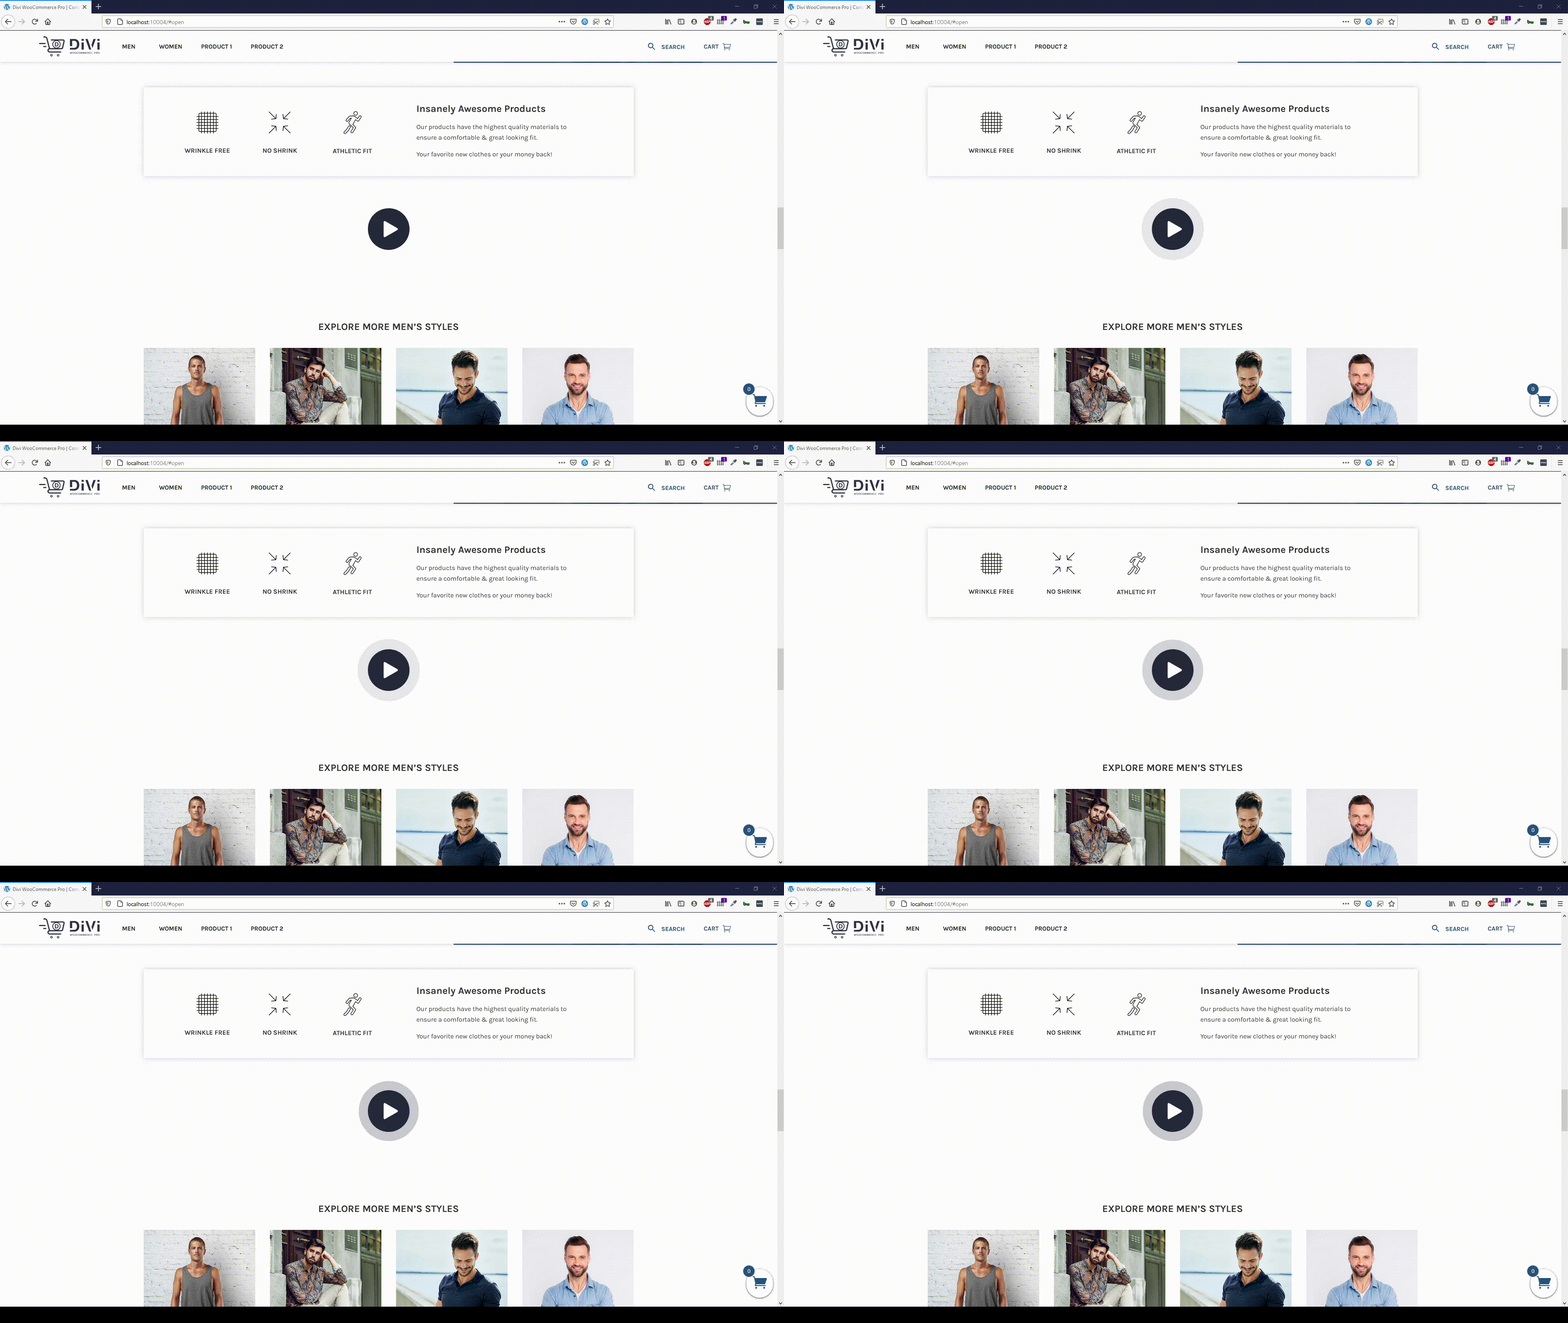
Introduction
With Divi Lottie Animations plugin from Divi Life, you can add engaging animations to your Divi website easily. Lottie animations are a type of animations that use JSON code to create graphical animations (instead of image or video files). With Divi Lottie Animations plugin, you can add your Lottie files to your Divi site and change values like the speed and loop.
Step 1: Install Divi Lottie Animations plugin
1. Go to WordPress dashboard
2. Plugins > Add New > Upload a plugin
3. Activate Plugin
Step 2: Adding a Lottie file to your Divi Lottie Animations Module
Once the Divi Lottie Animations plugin is installed, it will add a new Divi Module called Lottie Animations
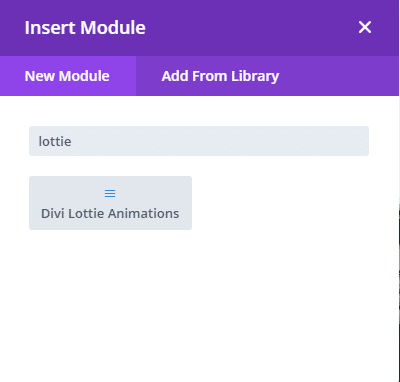
With this module, you’ll be able to edit the lottie settings.
Step 2a: Getting the JSON file from LottieFiles.com
1. Go to LottieFiles website
2. Click on Get Starter and create your free account.
3. Activate your account
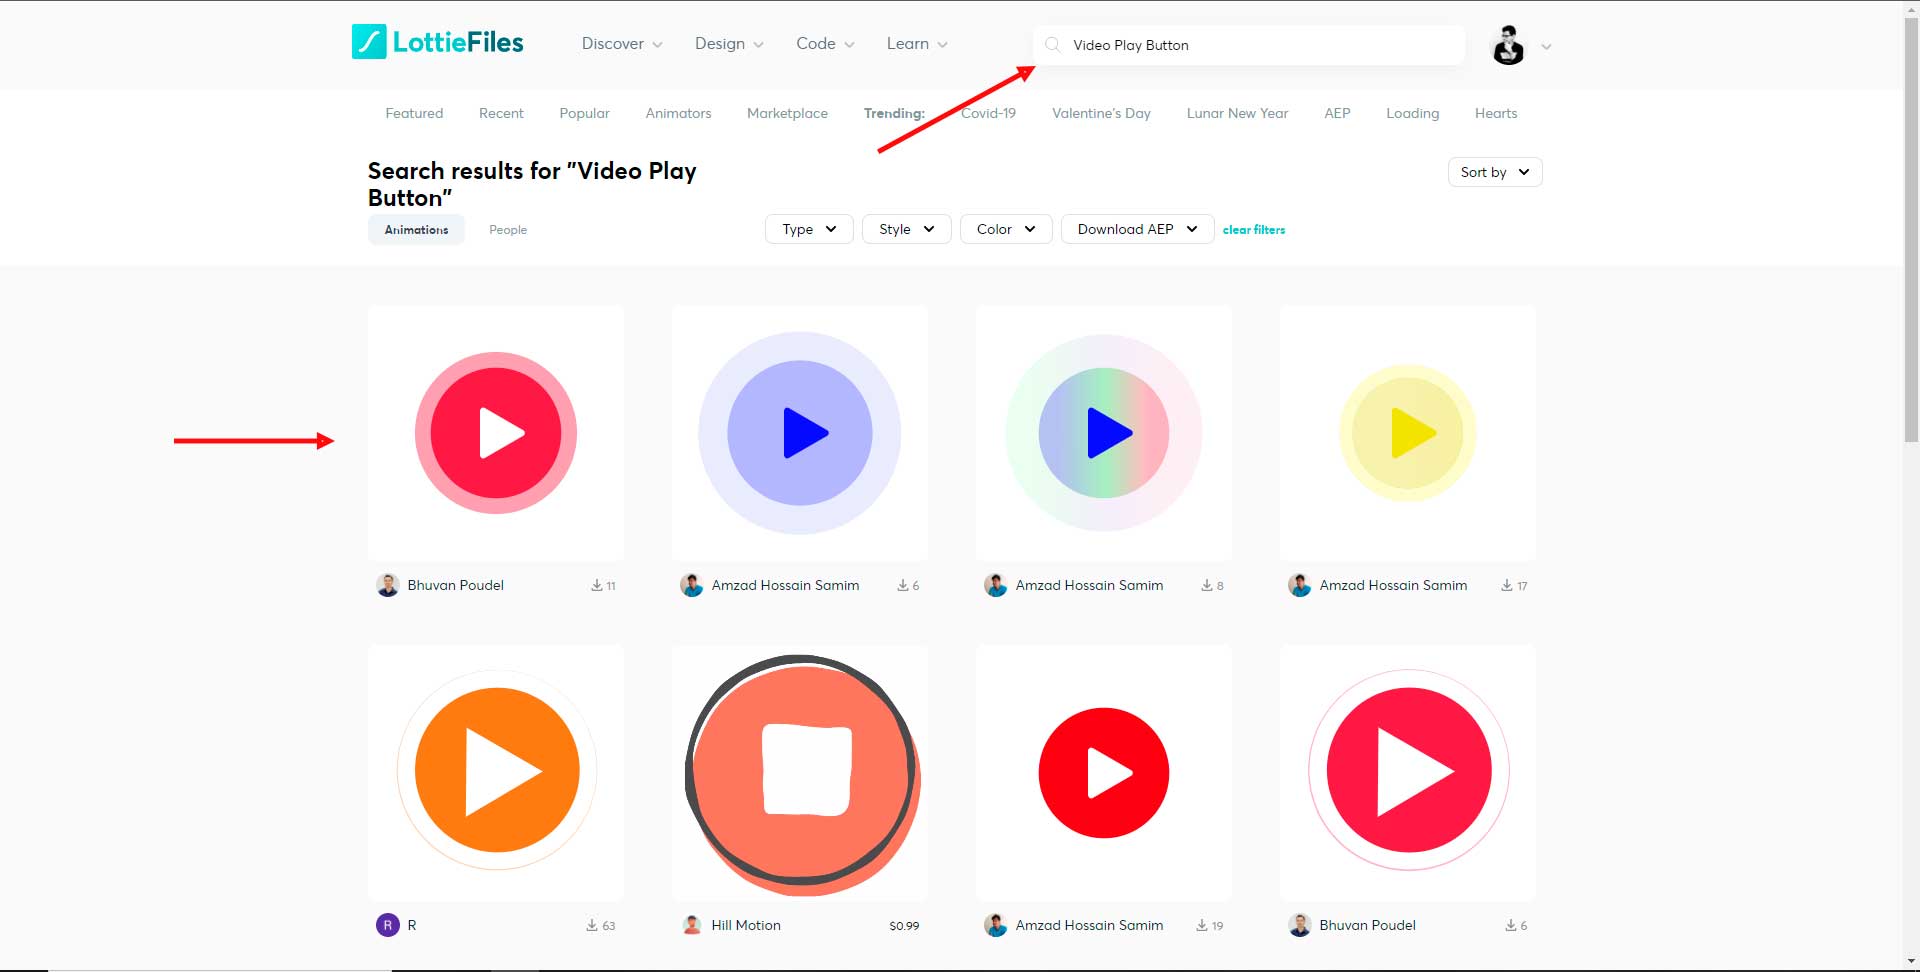
Once you have activated your account, you’ll be able to download the JSON file that will be necessary to upload in our new Lottie Module. So let’s search for a Lottie animation
Once you selected your Lottie Animation, you can directly download the JSON file or edit the colors of the layers (if you want to change it with your site colors)
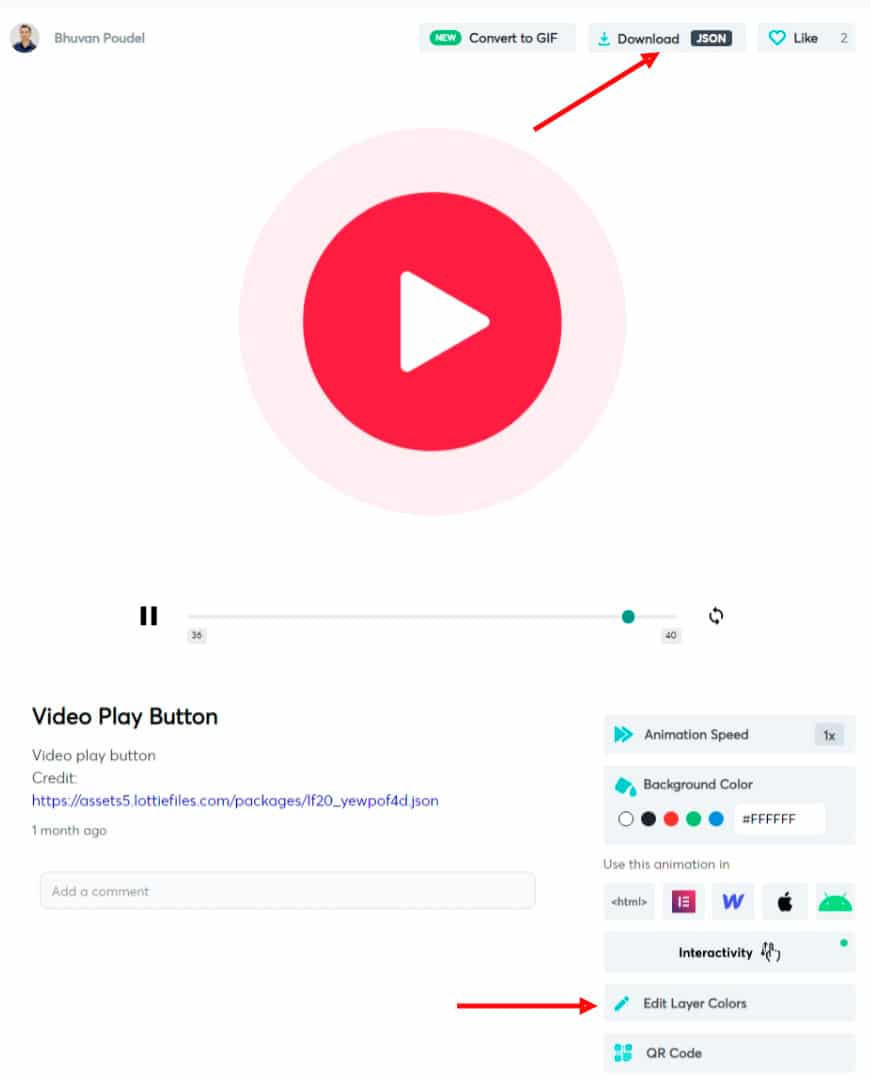
In this tutorial, I’ll edit the colors of the layers. If you will not change any color, go to the next step (Step 2b)
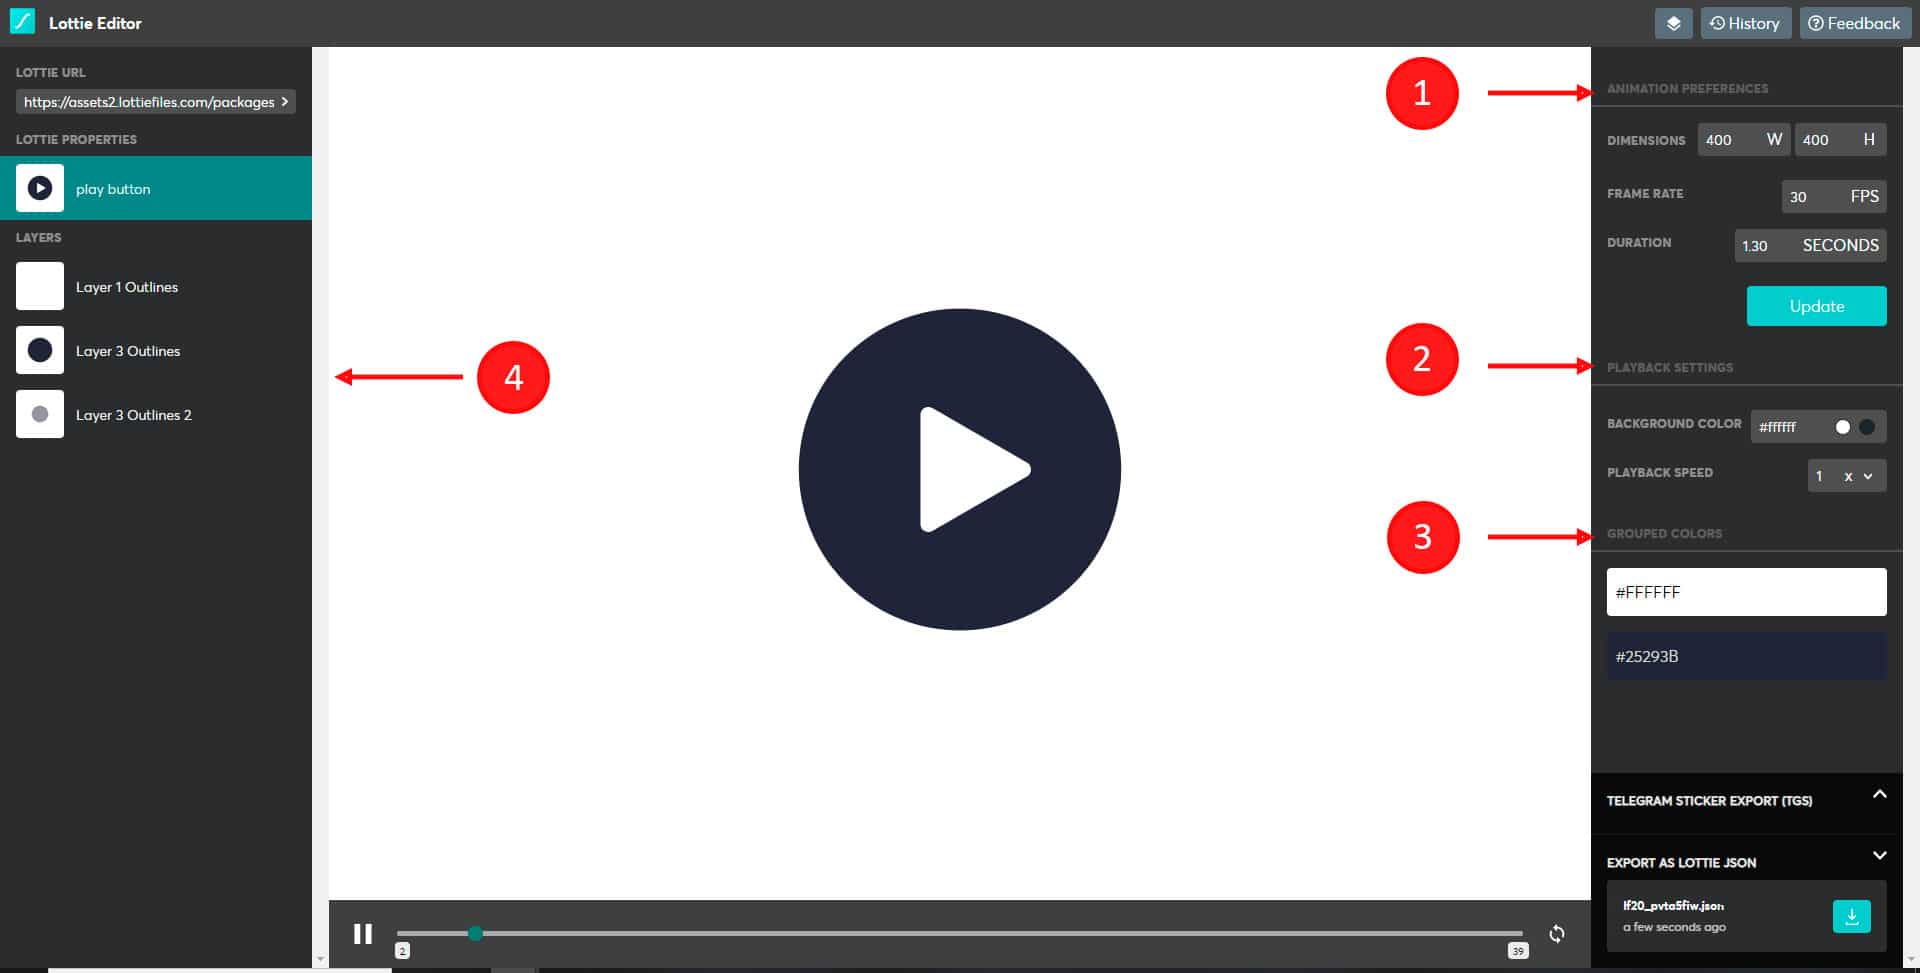
- Animation preferences: Here you can change the size and frame aquality.
- Playback settings: here are the schema colors of the layers. Also, here you can change the animation speed.
- Grouped colors: Here are the colors used in the Lottie file.
- Layers panel: Here are the layers in the Lottie file. You can select each layer and change the color.
So let’s go to a single layer to change the respective colors.
- Select the layer
- Change the color
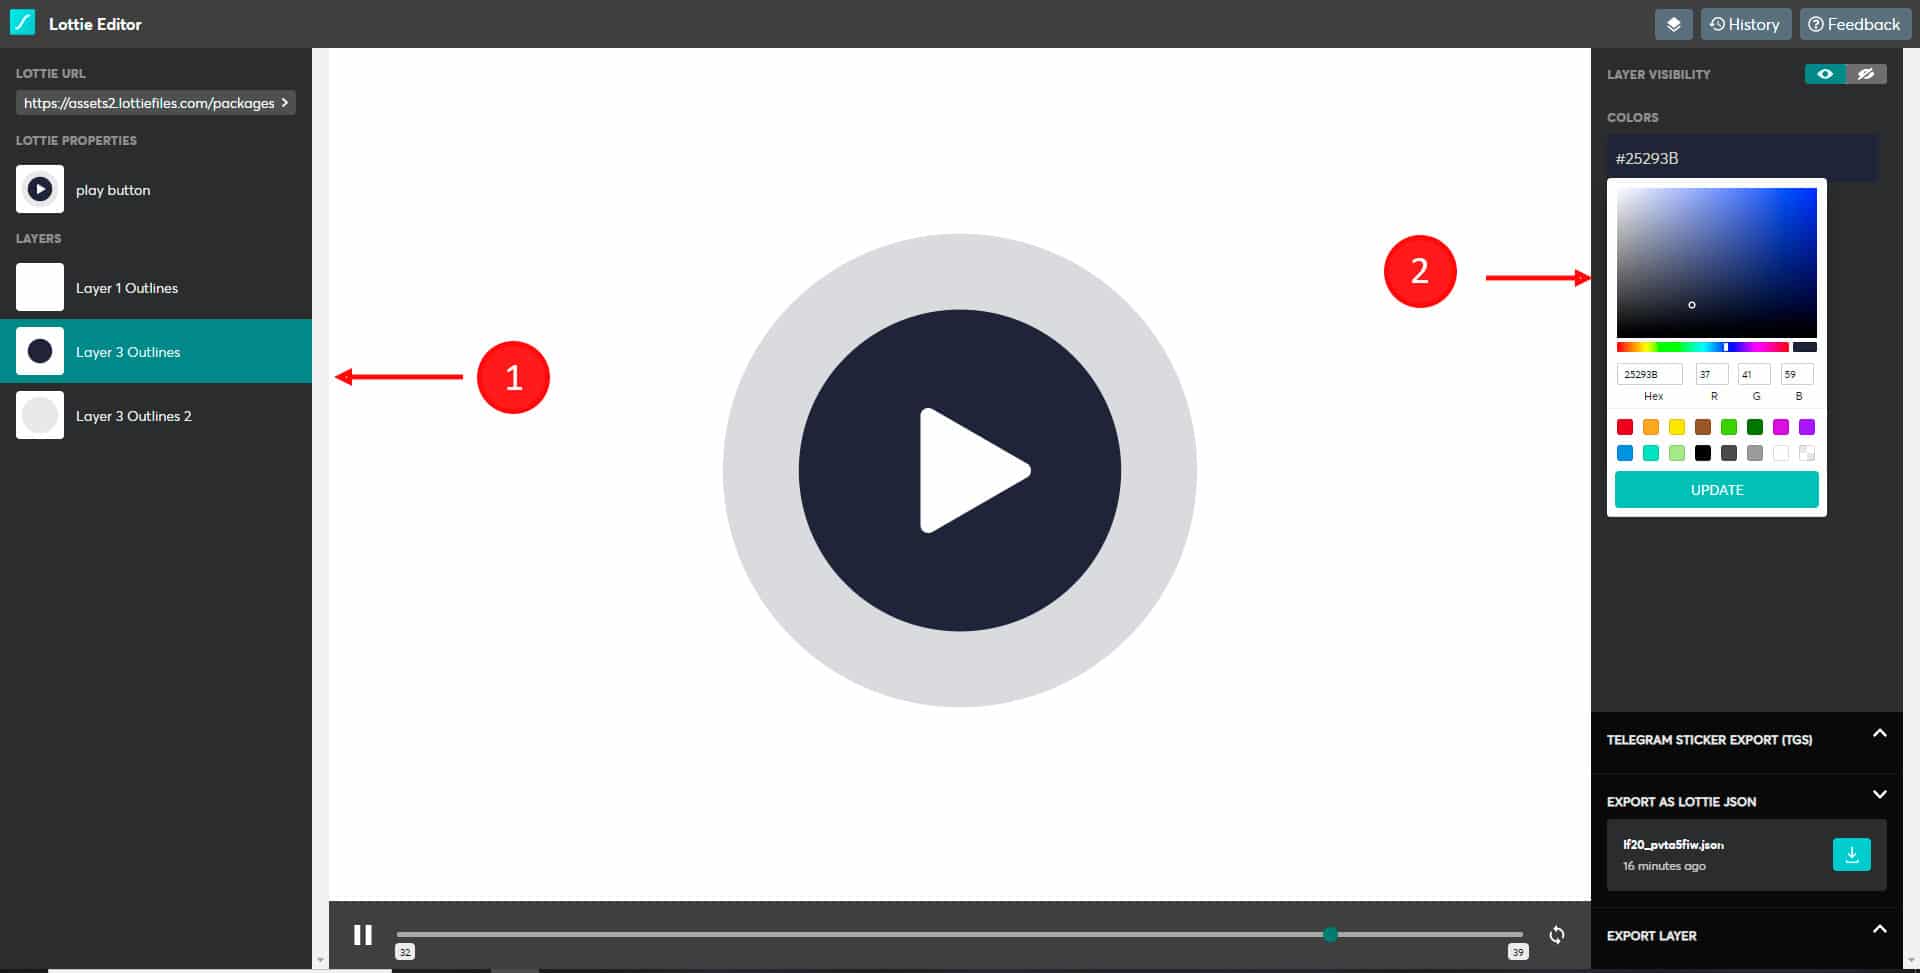
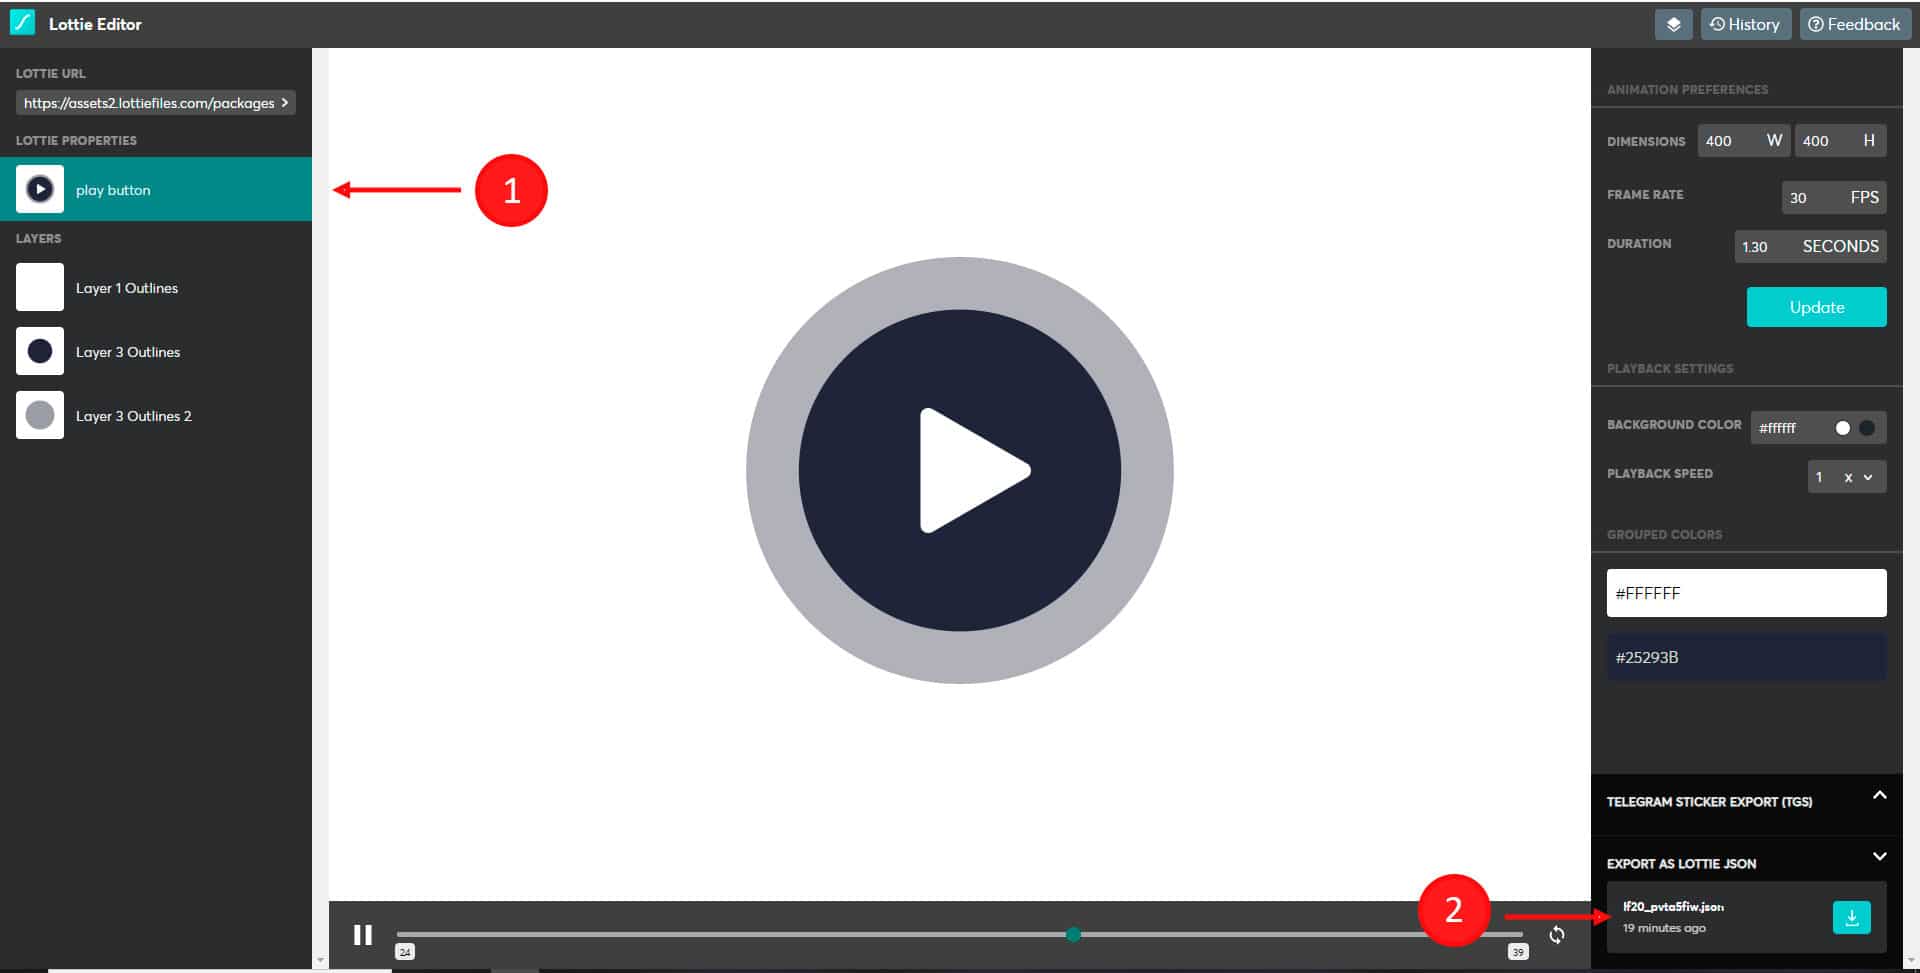
After you changed all colors of the layer by yours, download the JSON file.
- Go to the first layer
- Go to EXPORT AS LOTTIE JSON
Step 2b: Adding the JSON code into Divi Lottie Animations
1. Open the JSON file with your favorite text editor. For this tutorial, we use Sublime Text, but any text/code editor will work.
2. Copy the code
3. Paste it in the Code area of the Divi Lottie Animations plugin
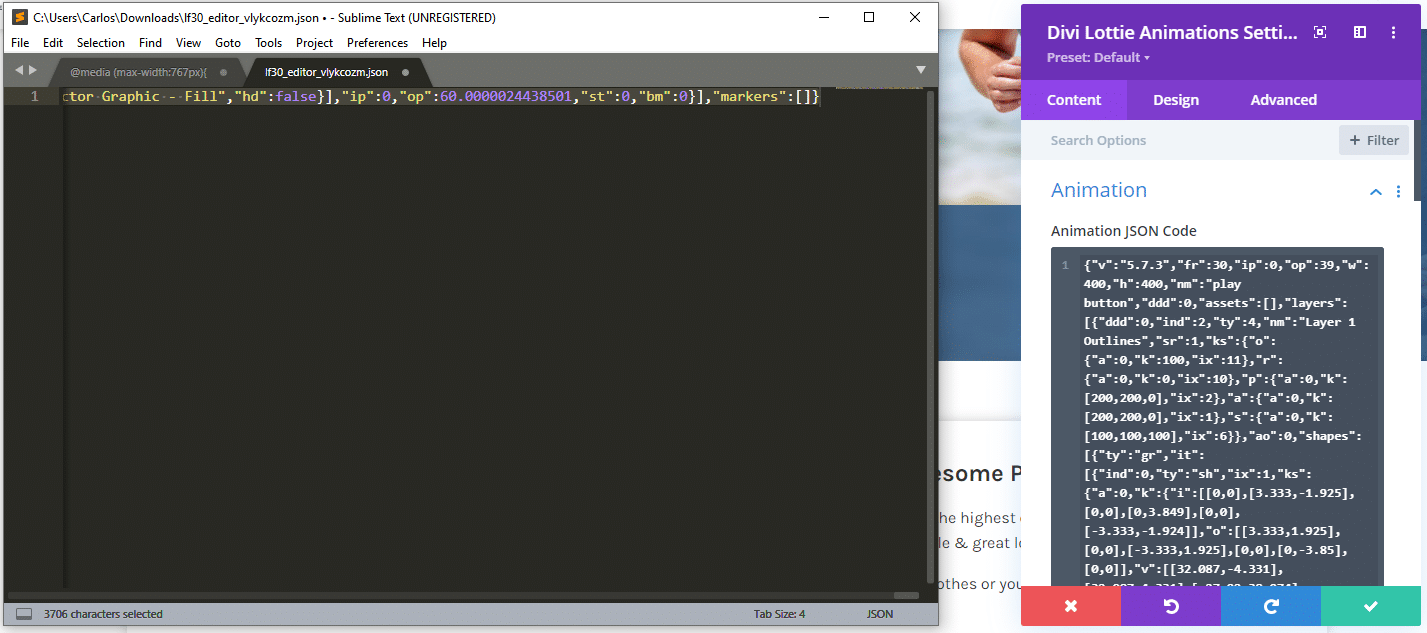
Once added the code, you’ll see the Lottie file on your Divi site.
Step 3: Additional settings for Divi Lottie Animation
Content tab
Animation: Here you add the Lottie JSON code.
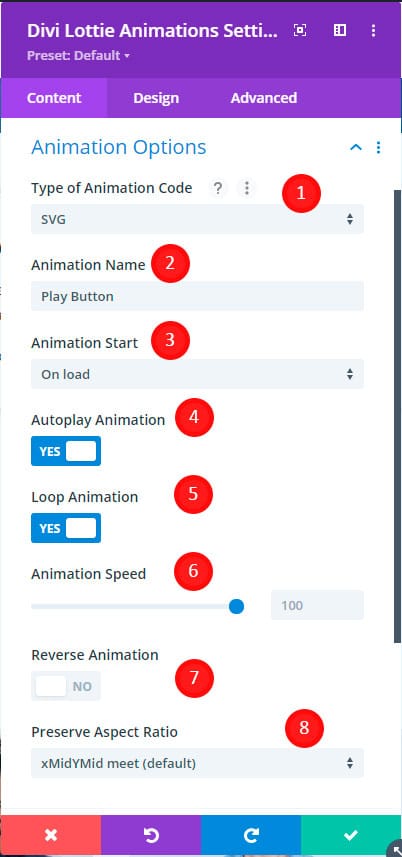
Animation Options: Here you can change the lottie options.
1. Type of Animation Code: select between SVG, HTML or Canvas. We recommend SVG.
2. Animation Name: Add a custom name for your animation.
3. Animation Start: you can set when the animation start.
4. Autoplay animation: it will start the animation automatically.
5. Loop animation: enable it if you want an infinite animation.
6. Animation speed: change the speed (faster or slower)
7. Reverse animation: play the animation in reverse.
8. Preseverse Aspect Radio.
How to change the size of the lottie file?
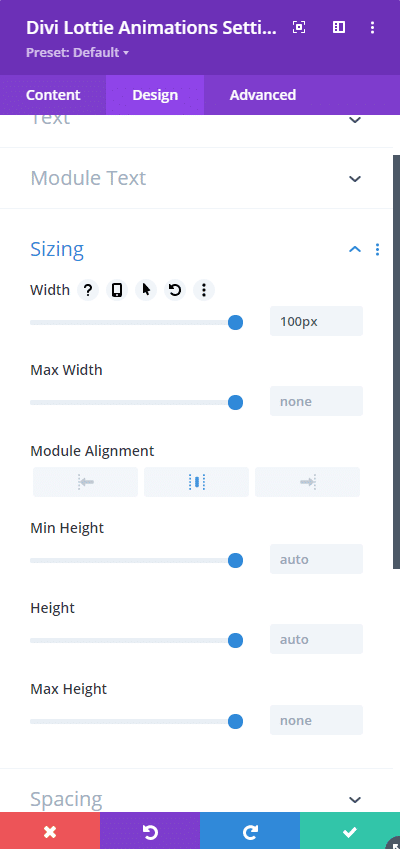
To change the size of the lottie file, go to the design tab > Sizing > set the size you want for the lottie file.
Final result:
