Introduction
Divi WooCommerce Pro comes with a gorgeous header made with the Divi Theme Builder. In this tutorial, we will show you how to edit every single part of the header.
Step 1: Finding Divi WooCommerce Header
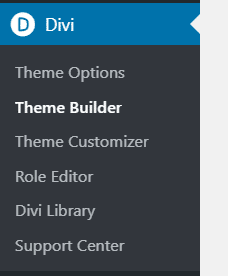
1. Go to Divi > Theme Builder

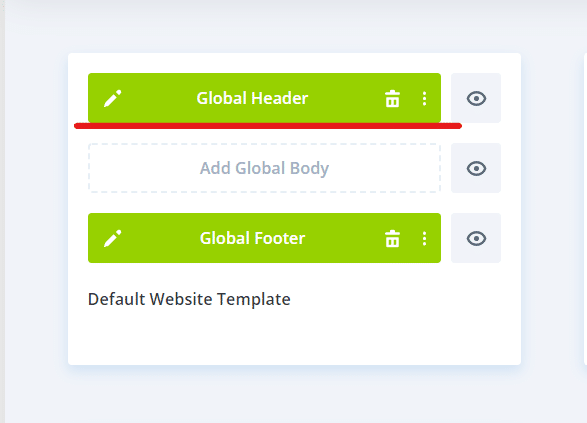
2. Edit the Global Header

Step 2: Changing the content in the Divi WooCommerce Pro header
To change the content in the header of your new Divi WooCommerce Pro site, just follow the next steps:

1. The Shop Button (Button Module): here you can change the CTA of the header. Settings like the button text, colors and URL.
2. The New Tickers (Text Module with a shortcode): Here you can change the shortcode of the news tickers. To get the new shortcode, go to your WordPress dashboard > News Tickers > Copy the new shortcode.
3. Admin Menus (Blurb Modules): Here you can change the content of each blurb module to style it as you need. Here you can add the new Unique Divi Mega Pro CSS Class of your mega menus. If you don’t have any idea how to use Divi Mega Pro to create gorgeous Mega Menus, here is the Getting Started Tutorial.
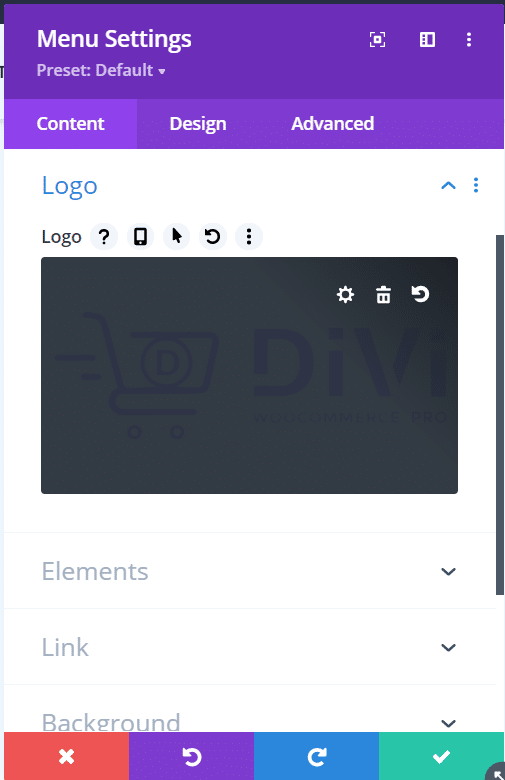
4. The Menu Module (Menu Module): Here you can change the Logo and select the Menu you want to show in the navigation section (menu). To change the logo, go to the Divi Menu Module settings > Logo.

5. The Search Form (Text Module with a shortcode): Here you can edit (delete or add) the shortcode for Advanced Woo Search plugin.
Also, in this section, you can edit the Cart icon.
Note: the trigger of the cart icon to the Side Cart. We’re working in a workaround to trigger it. We’ll update this doc once we have the fix for it.
