Introduction
Divi Dashboard is the easiest way to create a custom Dashboard for your users. It can be set a specific layout for each user role.
NOTE: This documentation article is for Divi Dashboard 2.0+. If you are using Divi Dashboard 1.0 (Legacy) then please refer to this getting started guide.
Step 1: Download and install
To download Divi Dashboard, go to your Divi Life Customer Portal > Purchase Downloads or if you’re All Access Pass Member go to Divi Life Customer Portal > All Access Pass Downloads
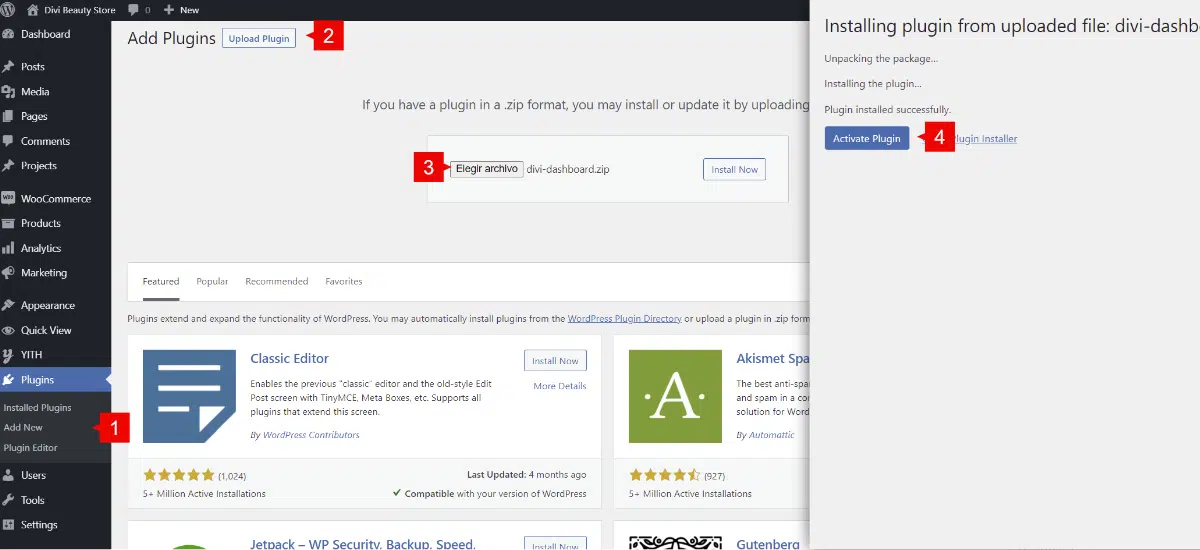
1. Go to WordPress dashboard > Plugins > Add new
2. Upload plugin
3. Choose file > Select divi-dashboard.zip
4. Activate plugin
Step 2: Adding a new custom Dashboard
Once Divi Dashboard is installed, a new CPT will be added to your Divi site. To access to this new CPT, go to WordPress dashboard > Divi Dashboard CPT
1. Go to WordPress Dashboard > Divi Dashboard
2. Add new
3. Add a new title to your new post
4. Enable Divi Builder and start creating your custom Dashboard as you want.

Step 3: Assigning a dashboard to users
Once you finished designing your layout, you can assign the layout for each user role.
Also, there are a few settings that you can enable to have your custom Dashboard as you need.
Full page mode: This will overwrite all your WordPress dashboard with your custom dashboard.
Show dismiss button: This will show/hide the dismiss button from your dashboard.
Max height: set a max height on your custom dashboard.
So,
1. Go to Divi Dashboard
2. Settings
3. Assign the layout to the specific user role
4. Enable the options you need for your custom dashboard
5. Save changes

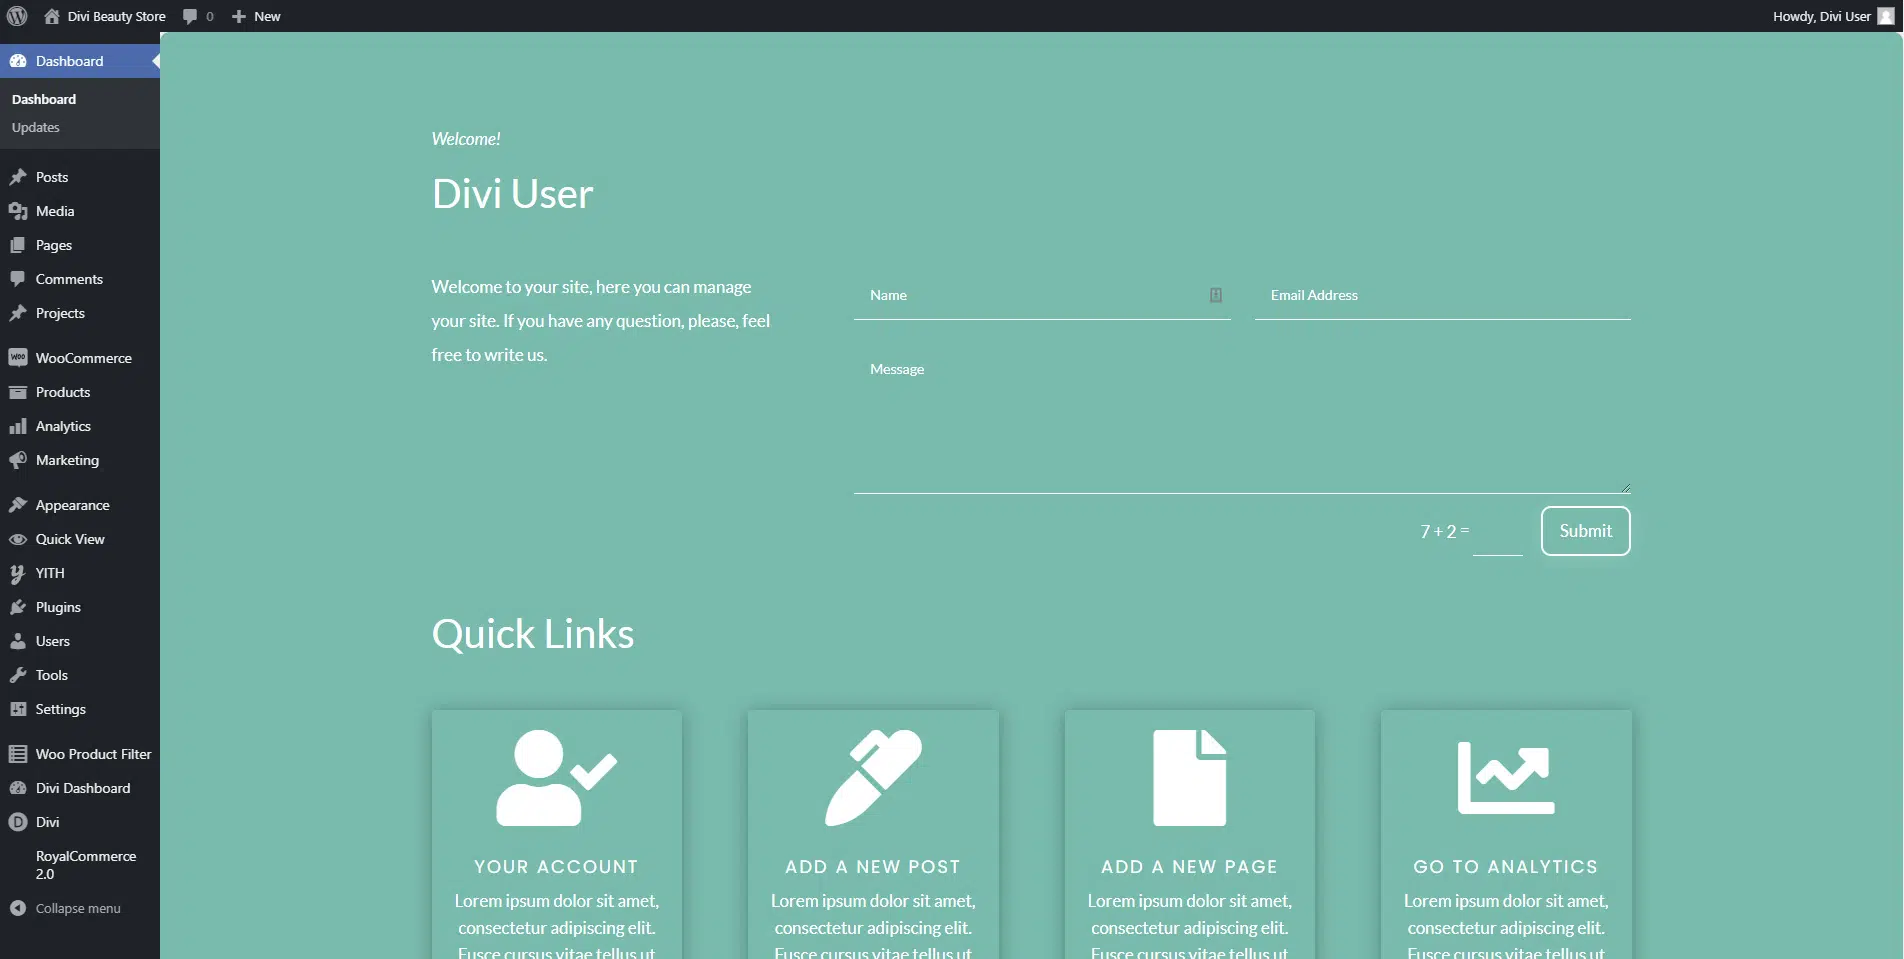
And this is the final result
How to open links in the parent URL
To run this, you need to add the following CSS class to the section where the links are:
dl-outer-link
By adding this, all the links within the section will open in the parent URL.