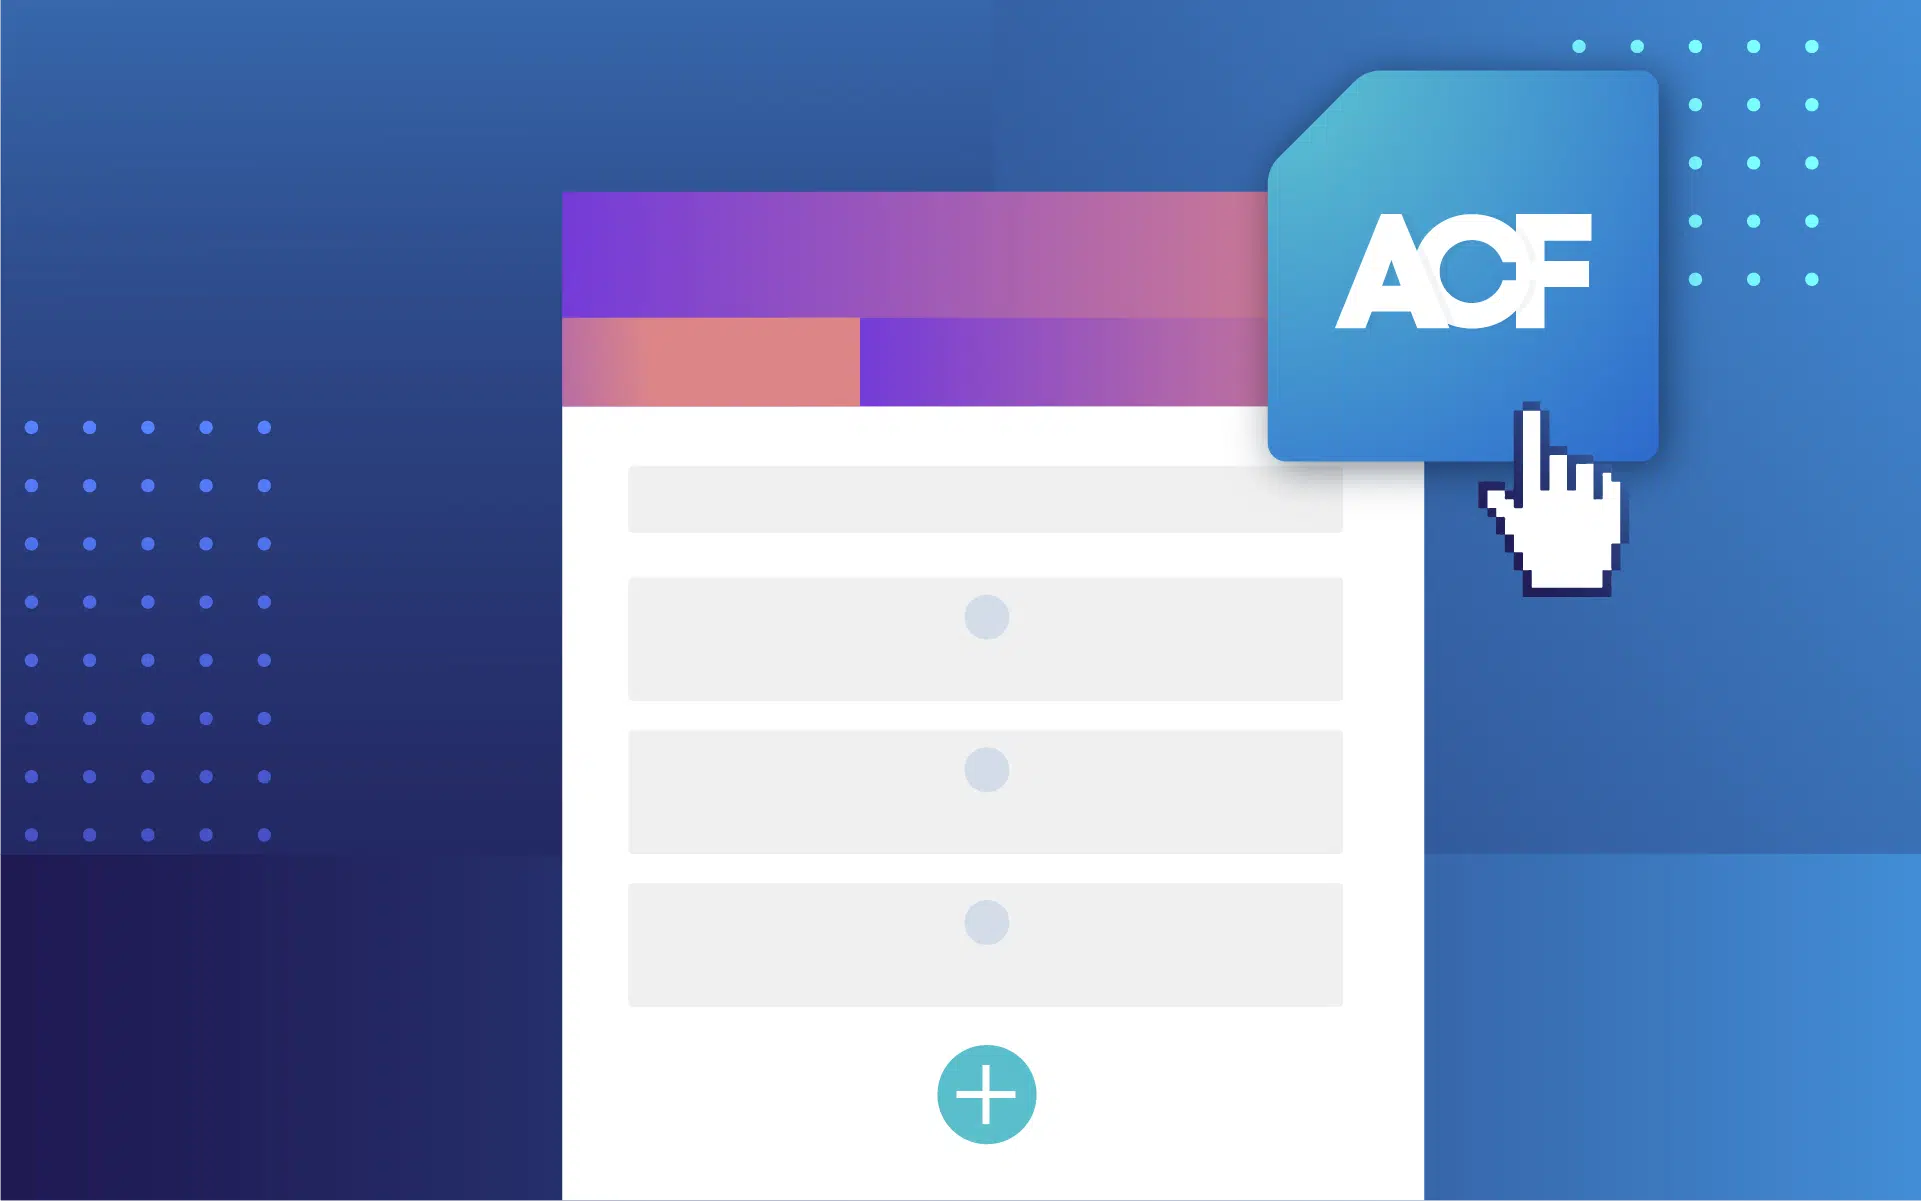
How to Add ACF Fields to Divi Modules
Advanced Custom Fields (ACF) is a plugin that gives Divi designers a lot more flexibility when it comes to managing content. Divi’s Theme Builder is great in many areas, but it can feel a bit limiting if you want to go beyond the basics in terms of content management.
ACF allows you to create custom fields that let you add specific content to your designs without getting bogged down by predefined layouts. For Divi users, it fills in the gaps, giving you more control over dynamic content and how it’s displayed.
The integration of ACF with Divi makes it possible to break out of the usual templated design and truly customize a site’s functionality and content – something you could explore in more depth in our Divi Theme Builder Pro course (more on this later!).
It’s simple, practical, and opens up new possibilities. Let’s get you acquainted!
How to integrate ACF fields with Divi modules: A complete guide
ACF enables you to create custom fields for specific content types like images, text, or more complex data, which are stored and managed in WordPress.
While ACF typically requires code to display this data on the frontend, Divi eliminates the need for coding by pulling data from ACF and outputting it in its modules.
Let’s explore exactly how this works.
How to create a new field group in ACF
The first step in the integration involves creating the custom data in ACF. You have several options for what to create, but we’re going to start with custom field groups.
For this walkthrough, we’re going to build pages for team members, so we’ll need a field group that captures each person’s name, location, profile photo, etc. Here’s how to create it:
1. With the ACF plugin installed and activated, go to ACF > Field Groups from your dashboard then click Add New.
2. Give the group a name and create the fields, making sure to pay close attention to the field names and field types. We’ll need the field names to pull the data into Divi and the field type needs to be the best for each item, e.g. Image for profile photos.

3. Save your changes when you’re done.
By default, the field group will be set to display on all posts, as you can see in the Location Rules right below the list of fields:

You can change this to only show the fields in other areas or conditions, such as by user or on custom post types, but let’s leave it at the default for now.
When you go to create a new post, the fields will show up in meta boxes right below the editor.

Of course, there’s still the matter of displaying these values on the frontend. Normally, you’d need to write a bunch of code, but Divi lets you do it in a few clicks right within the builder.
Displaying ACF data in standard Divi modules
Here’s where the real fun begins. We’re going to use Divi’s dynamic content features to pull data from ACF and display it on the frontend without writing a single line of code:
1. Enter values for all the custom fields, and add the team member’s bio in the editor.

2. Click Use The Divi Builder.
3. Add a text module as you normally would.
4. Hover over the Body section to reveal additional options. In the section with the text, you should see a stacked disc icon which should display a Use Dynamic Content label when hovered over.

5. Click on this icon and scroll down until you find a section labeled as your ACF field group. In this case, it should be ACF: Team members.
6. Choose the field whose value you want to output in the module. We’re going to start with their name.

7. Add Before and After text to give the custom field values some context when it’s displayed on the frontend. For example, we could have “Name: ” appear before each team member’s name.

💡 Remember to add a space to give the values some breathing room.
8. Repeat this for all the other text fields.
9. For the profile picture, you’ll need to add an image module. If you don’t immediately see the stacked disc icon, click the trash can icon to clear the presets.
10. Repeat the same process as above, but this time, choose the image field from the ACF field group.

11. Finally, we’re going to add a button module that will link to their social media handle. Click the stacked disc icon in Link > Button Link URL to use dynamic content from the social media handle custom field.
12. To add the bio (i.e., what you entered into the editor), use Divi’s post content module.
When you put all this together, here’s what you should end up with:

Creating dynamic templates with ACF and Divi Theme Builder
ACF is known for its custom fields, which are incredible, but one of its best features is custom post types.
Let’s say the website where you’re displaying the team member profiles also has a blog section. To make it easier to manage these different types of content, you can create a custom post type for team members, complete with a Divi template, so they don’t interfere with your blogging workflow.
Here’s how:
1. From your admin dashboard, go to ACF > Post Types then Add New.
2. Enter the details for a new Team member post type, filling in the plural and singular labels. The post type key should auto-populate, while the rest of the options are fine as is.

3. Save the custom post type and look for it in the dashboard area where posts and pages are.

4. Go to ACF > Field Groups and click Edit under the Team members field group we created earlier.
5. Scroll down to Location Rules, and change it to Post Type is equal to Team member. This makes it so the custom field meta boxes only show up in the Team members custom post type.

6. Save your changes then go to Divi > Theme Builder.
7. Click Add New Template then Build New Template.
8. In the Template Settings popup, under Use On, scroll down until you find the Team Members section. Check All Team Members. This will assign the template to the Team members custom post type.

9. Create the template and click the pencil icon next to Global Body to begin editing the layout.
10. Repeat the exact same process from the walkthrough above, connecting modules to dynamic content.
11. Save the template when you’re done.
Now, you should be able to go to Team members > Add New Team Member from your dashboard and enter the team member’s details.

When you publish the post, it should appear on the frontend with the layout you designed.

This makes adding new team members a breeze, not to mention the fact that it’s infinitely more scalable. The best part is that because it’s a different post type, it doesn’t interfere with your other content.
In fact, you can use this method to create layouts for as many custom post types as you need!
Master dynamic content creation with Divi Theme Builder Pro
Now that we’ve covered how to integrate ACF with Divi, let’s talk about how you can really level up. As web designers, the demands for more advanced content management solutions are growing, and integrating ACF alone just doesn’t cut it anymore.
Thankfully, our Divi Theme Builder Pro course is built to push you beyond the basics. Through live sessions, you’ll learn how to create truly dynamic, complex templates that use ACF fields alongside Divi’s Theme Builder. This is the kind of stuff that lets you craft scalable content systems for your clients while keeping things efficient.
In Module Six, you’ll dive into advanced ACF integration: building reusable templates, working with field relationships, applying conditional logic, and optimizing for performance. These are the skills that’ll set you apart from other designers and get you noticed.
Martin Young, a student, puts it best: “The depth and breadth of Tim’s knowledge is so clear… I’ve had so many ‘a-ha’ moments already, realizing I’m not the only one who struggles with certain parts of the process.”
If you’re serious about taking your Divi and ACF skills to the next level, the Divi Theme Builder Pro course is where you need to be. Sign up now and start building smarter, faster websites!

The Ultimate Divi Toolkit 🚀
The Divi Life All Access Pass membership is a complete Divi toolbox with all the Divi plugins, child themes, layouts, & templates you'll ever need to create incredible Divi websites.

0 Comments