How to Use the URL Trigger Feature in Divi Overlays
This article (& video) will teach you how to trigger an overlay with the URL of the pageAfter being requested by quite a few customers, we launched the “URL Trigger” feature. This feature allows you to trigger the overlay by appending the overlay ID to the URL.
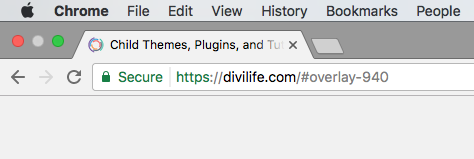
So a URL Trigger would look something like this:

If the overlay has another trigger already configured for that page, then you don’t need to do anything else. Simply add /#overlay-940 to the page URL when creating/sending a link, and the overlay will automatically trigger on page load!
However, if there isn’t already a trigger created for that particular page, then you’ll need to do one step first.
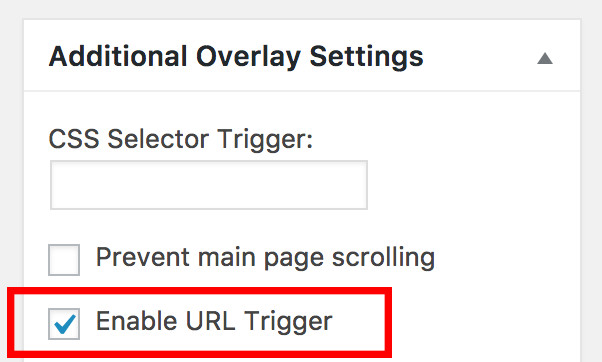
Navigate to the overlay edit screen (for the overlay you’d like to set up a URL Trigger for), and find the box for “Additional Overlay Settings.” Then, check the box for “Enable URL Trigger.”

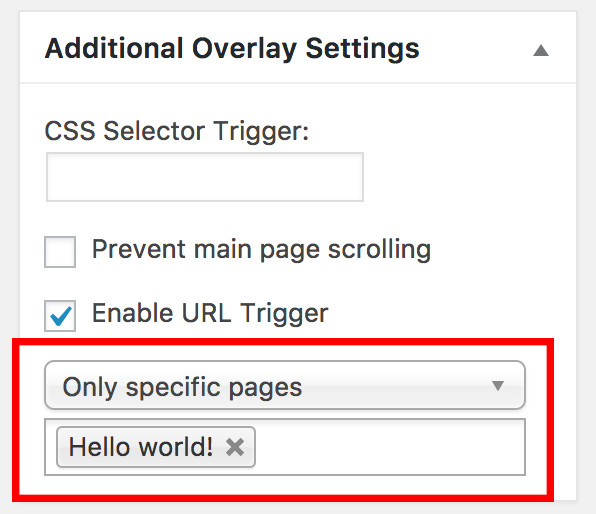
Then, depending on whether you’d like to have the URL Trigger configured for all pages, or select pages, choose the appropriate choice from the dropdown.
If you’d only like the URL Trigger configured on select pages, then choose the “Only specific pages” option from he dropdown, and start typing the name of the page/post/custom post type. You can repeat this step as many times as necessary.

And you’re done!
